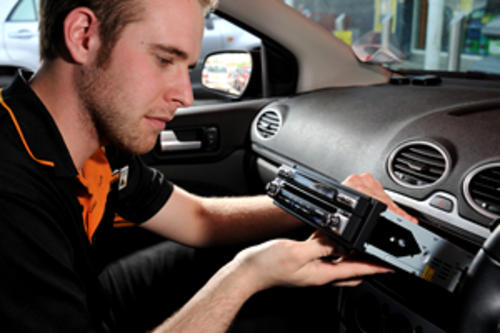
A Small Hassle for a Great Sound Before you start removing your existing radio, remove the negative cable on your car battery. This will prevent any accidental short circuits from destroying expensive equipment in your car. |  |
| Most car radios are held in place by either clips fastened to a mounting sleeve or by brackets bolted to the underside of the dashboard. If your radio is fastened by clips, referred to as DIN clips, it is released by inserting a pair of DIN tools into the holes on either side of the radio. The DIN tools release the clips and act as handles so that you can withdraw the radio. If the radio is bolted in place, you may have to remove some other pieces of trim to gain access to the bolts. Your workshop manual should include information on how to do this. Once the radio has been removed, note the wiring connections on the back of the radio. It is best to draw a simple diagram, noting the colours of all the wires. Most radios feature a plug connector for the power and speakers, and a separate socket for the aerial connector. With luck, your new radio will come complete with a customised connector, so you simply have to plug in the wiring harness from your car to the new radio and insert the aerial plug. Without a customised connector, you¿ll need to match the wires from your wiring harness to the radio yourself. If you need to cut and join wires, use solder or crimped connectors. This is better than just twisting the wires together, which may result in loose connectors later on. One final tip: when you have connected your new radio, give it a test before completing the installation; it¿s much easier to troubleshoot any wiring problems while the radio is out of the dashboard. Easy peasy! Now sit back, relax and test out your newly installed sound. | |